User guide (I): Exploring Text/Image-to-3D of Tripo AI with Proven Tips and Tricks for Effective Prompting
Introduction
Hello everyone, I’m Lyson!
Over the past year, the GenAI (Generative AI) field has continued to grow rapidly. Just at the beginning of the year, I gave a systematic Midjourney tutorial on Bilibili, and today, the technology for AI-generated 3D models has become increasingly mature. The decreasing learning curve means you can pick up 3D skills faster, allowing everyone to experience the joy of 3D creation.
Exploring the Potential: Tripo AI + Blender + Magnific AI
In my recent experiment, I dived into the exciting world of Tripo AI, combining it with Blender and Magnific AI. The result? Feast your eyes on the stunning image below:
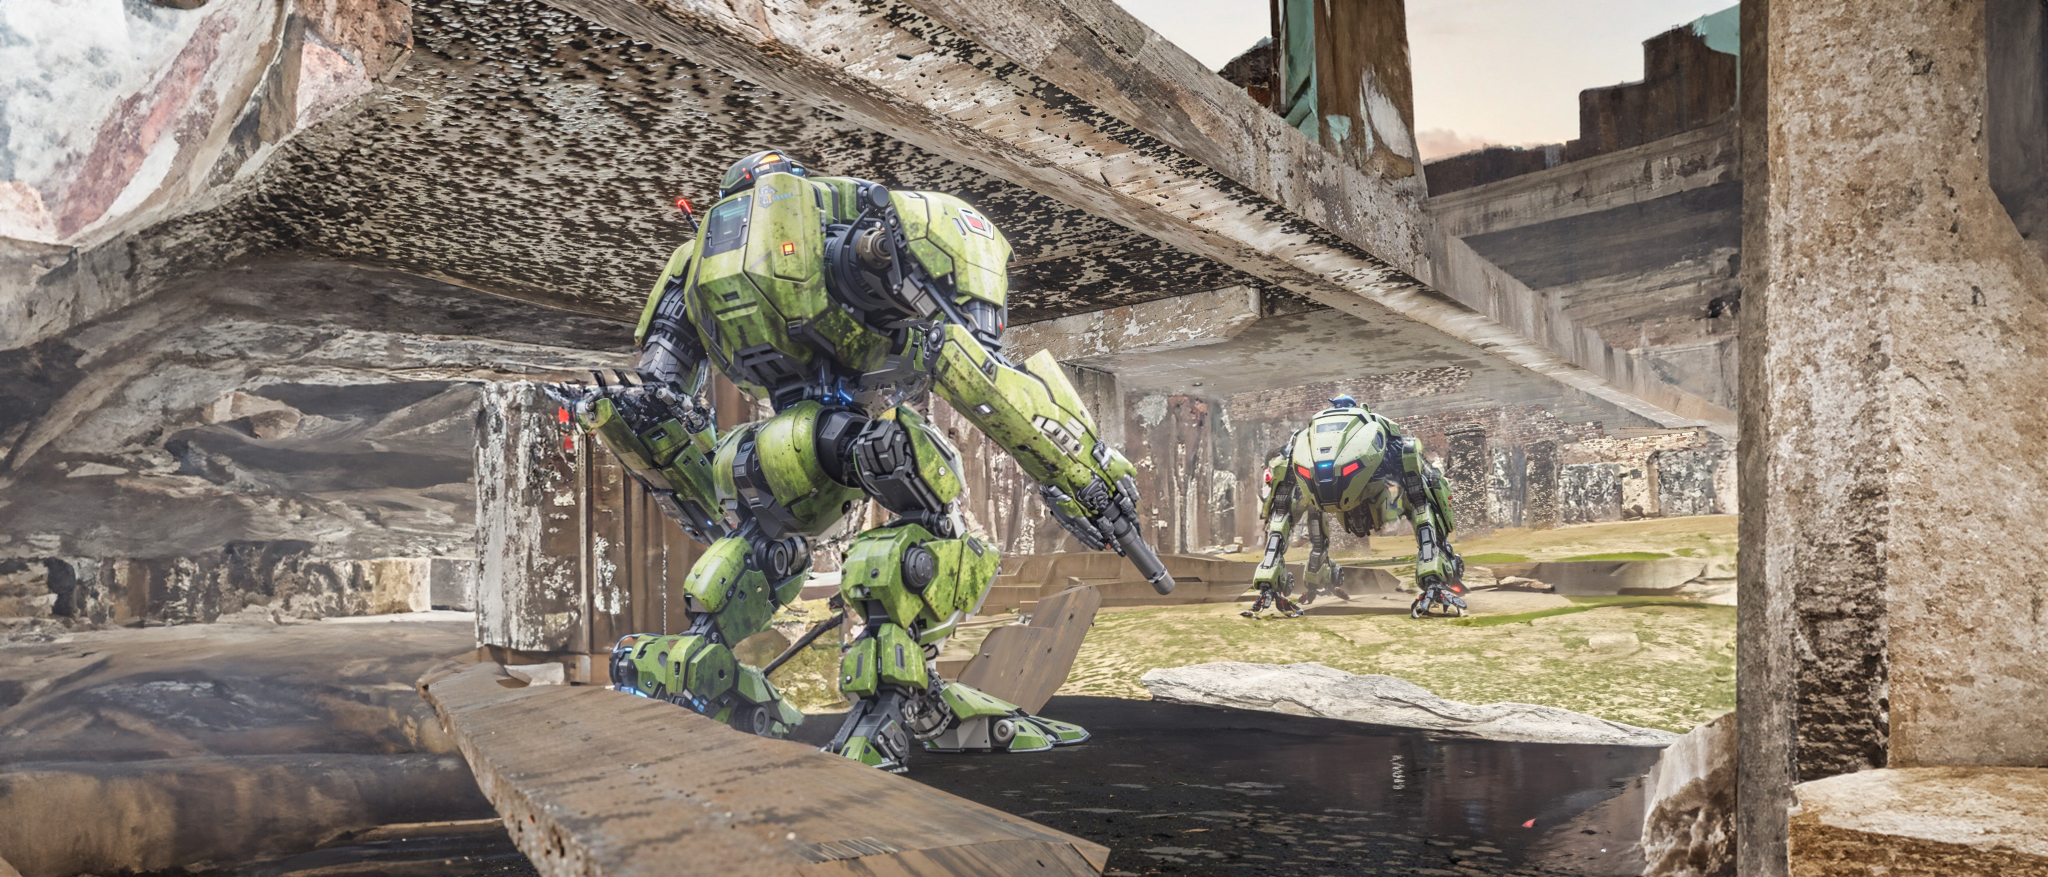
The first encounter with Tripo AI transported me back to the joy I experienced when I first played with the Midjourney V3 model. Another storyline intertwined with 3D generation technology is the advancement in motion capture tech. In the past, obtaining high-precision motion files required expensive equipment, but today, a smartphone is all it takes.
The Time Dilemma in 3D Learning
Many of you have been wondering about the time investment required to learn 3D modeling. It’s substantial! If AI can generate models directly, achieving even 80% completion, not to mention 100%, that would be a huge win. It would save a lot of time, especially for those repetitive, ‘bricklaying’ tasks. This is one of the reasons why Tripo AI excites me!
Testing the Boundaries: A Day with Tripo AI
On my first day with Tripo AI, I wrote Python scripts to batch process hundreds of models to test the limits of Tripo AI’s performance. As we all know, the importance of prompts in text generation is paramount, especially during rapid tool development phases. Understanding which prompts work efficiently can save valuable time in the creative process.
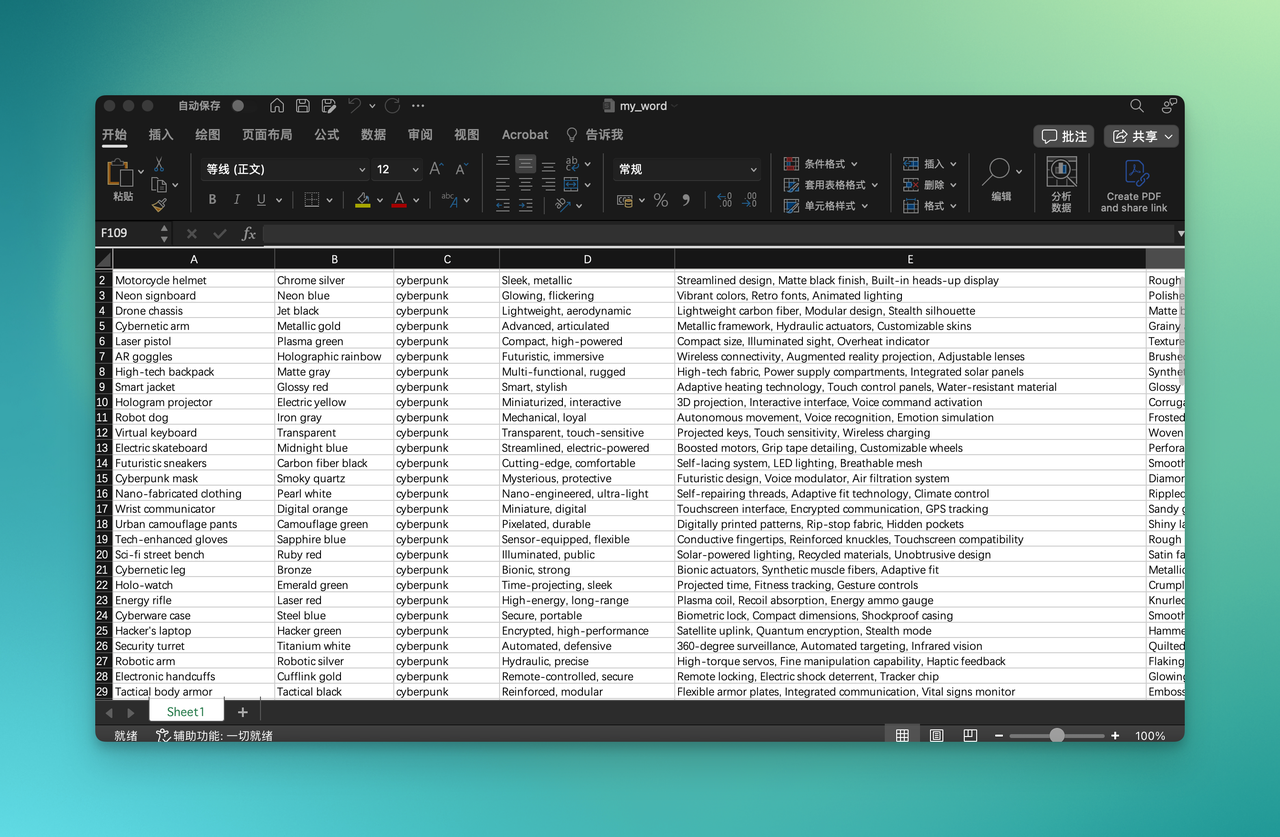
In my experimentation, I gradually explored different field attributes, from simple adjectives to texture materials, color gloss, and prompt starters like the word "Masterpiece."
Techniques and Conclusions Unveiled
Here are some key techniques and conclusions I've unearthed:
- Conciseness is Key: Currently, the model excels in understanding the main subject and brief modifiers. Long texts, however, don't significantly enhance detail. Focus on clearly expressing the main subject and its prominent features.
- The Power of Color Prompts: Color prompts work best when a large area of that color is presented in the results. Describing more than two colors with language alone can be challenging—direct modification in professional 3D software aligns better with the workflow.
- Importance of Starting Phrases: A good starting phrase can bring unexpected improvements in texture. Remember and observe prompts associated with high-quality outputs, experimenting with them repeatedly.
- Material Matters: Describing materials takes precedence over describing light sources. The model's understanding of material reflectivity is precise and deserves attention.
- The "Multi-head Problem": The model excels in generating good details in the first Draft phase, with a chance of encountering a "multi-head problem" during the second Refine phase, but it can be easily resolved within the 3D workflow.
Crafting the Perfect Prompt: Examples to Deepen Your Understanding
Let's now dissect these insights using examples, unraveling the nuances that can enhance your understanding and elevate your 3D creations.
The Power of Conciseness and Starting Phrase: The "Main Subject + 1–3 Most Prominent Adjectives + Starting Phrase" Formula:
Prompt: Cyberpunk mask, Compact, digital, Futuristic design, Voice modulator, Air filtration system, Quick-release mechanism, Concealed weapon storage, Biometric locking, Textured solar panel, moderate brightness, functional reflectivity, Sophisticated models, Smooth LOD transitions, gradient detail levels
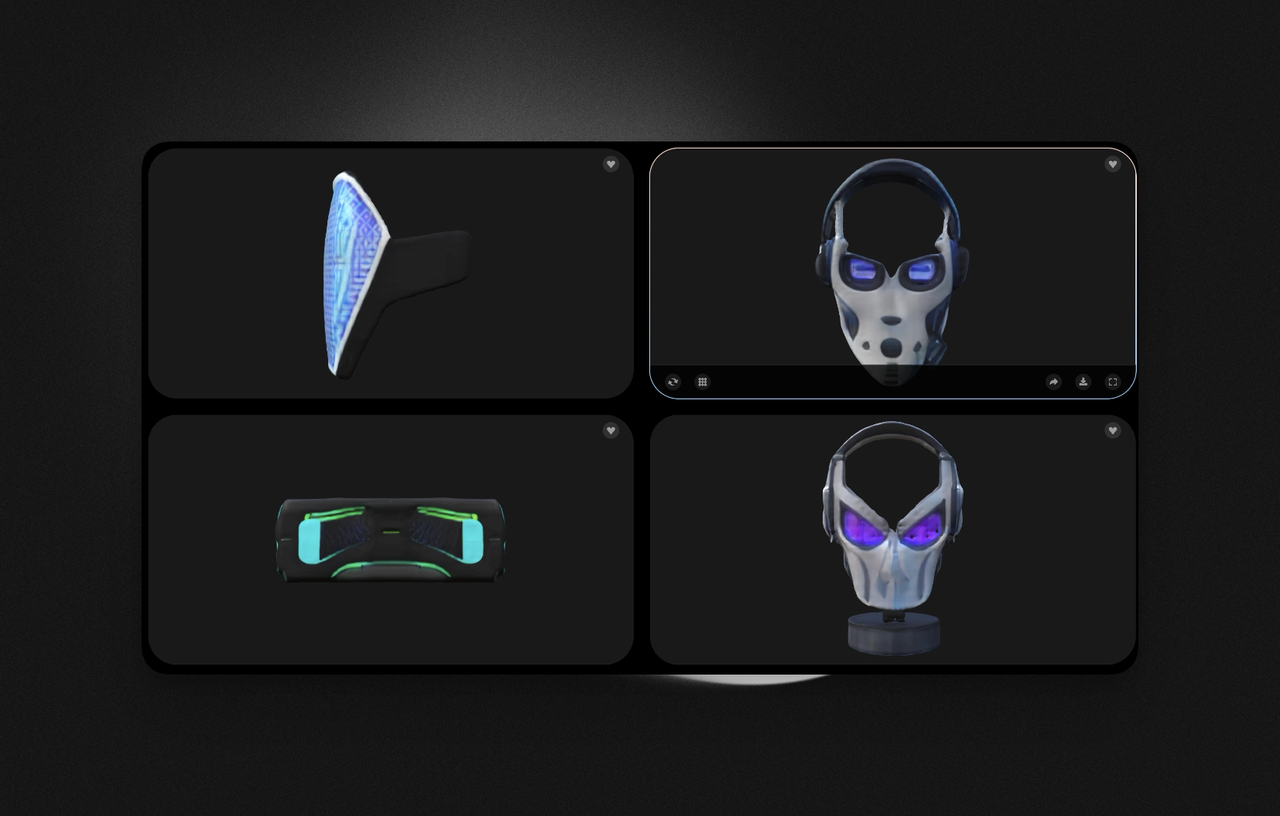
In the above-mentioned prompts, aside from certain more abstract design elements, the model demonstrates a good understanding of other parts of the prompt, especially P4. However, does this mean that longer prompts are more worthwhile? A closer examination of the prompts reveals that actually, only the main subject (mask), the most prominent descriptive modifiers (cyberpunk, futuristic), and the starting phrases (Smooth LOD transitions, gradient detail levels) carry significant weight. Let’s continue by comparing some related examples from the community:
Prompt: a futuristic hardsurface helmet in green marble, high resolution
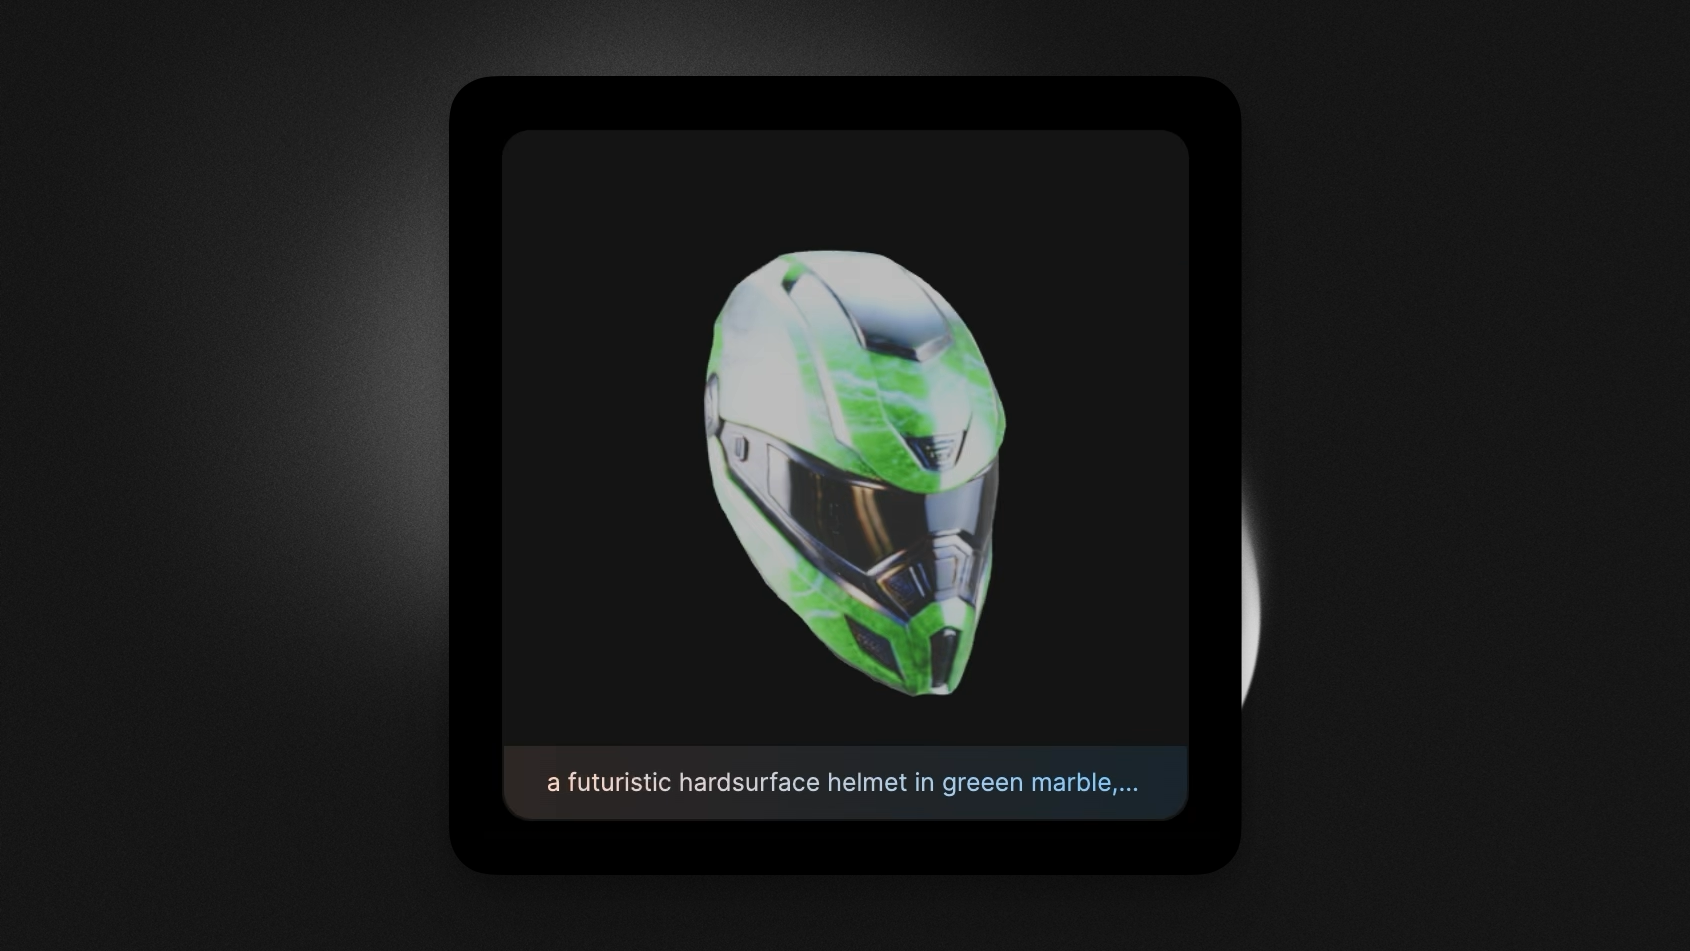
In this example, the prompt is just a single sentence, but because it fully incorporates the “main subject + 1–3 most prominent adjectives + starting phrase” formula I mentioned, it creates an impression of high precision and a silky-smooth surface.
Now, let’s look at another example:
Prompt: Cybernetic heart, display, Lifesaving, mechanical, High-definition screen, Laser-cut steel, Modular seat configuration, Anti-graffiti coating, Shimmering sequin texture, bright appearance, sparkling reflectivity, Realistic fluid dynamics simulation, Precision surface smoothing, artifact-free curvature
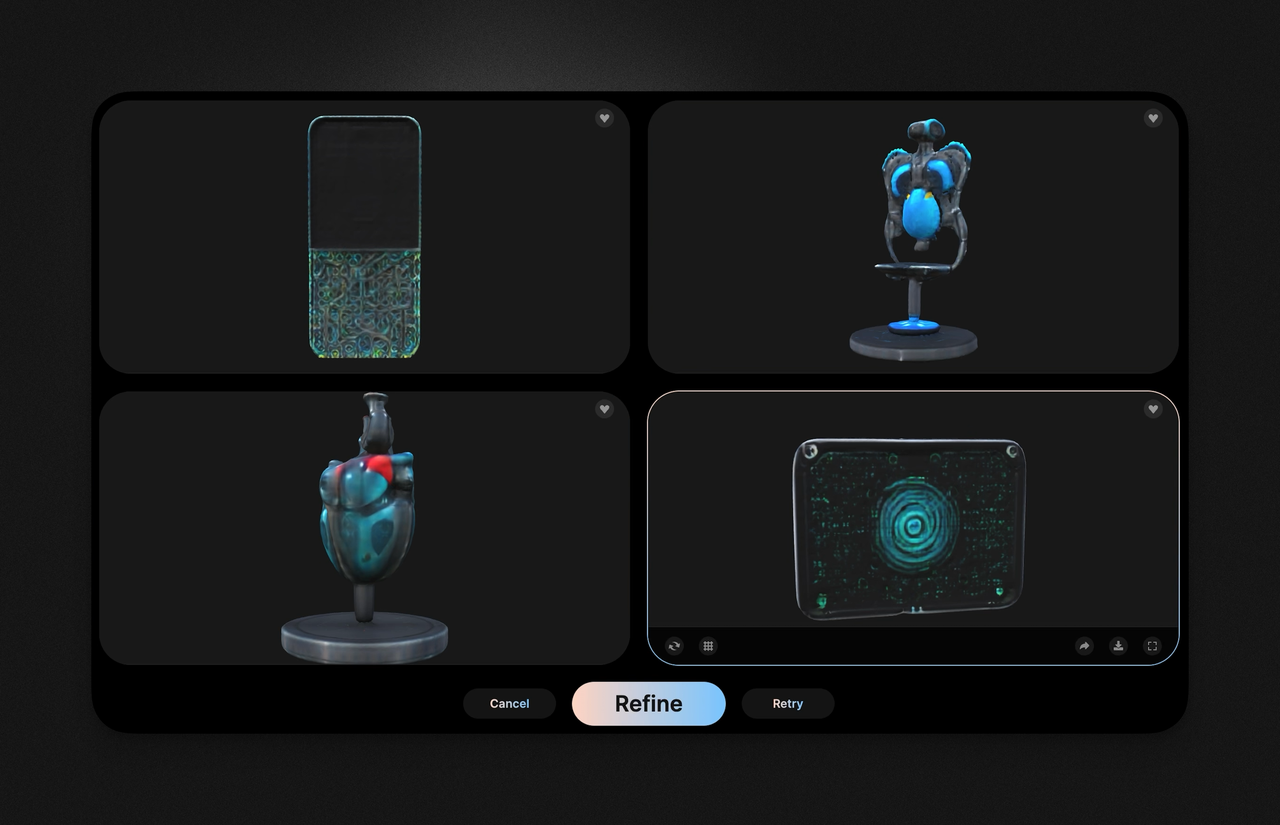
In this example, P3’s cyberpunk electronic heart and P4’s futuristic display screen align well with the intent of the prompts. Observing our structure of long prompts, we notice that we haven’t tried to describe the object with too many detailed adjectives. Therefore, apart from the main subject, most of it falls under the category of starting phrases, similar to words like “masterpiece” or “4k.”
However, in 3D, we need to remember some new prompts to achieve better results. For instance: Shimmering sequin texture, bright appearance, sparkling reflectivity, Realistic fluid dynamics simulation, Precision surface smoothing, artifact-free curvature. You might have noticed that the starting phrases include a lot of descriptions about material, reflective effects, and curvature. So, you can also think of starting phrases as these ‘3D characteristics’ that can significantly influence AI output.
Focus on Generating One Item at a Time:
On closer inspection, you’ll notice that this prompt seems to have two seemingly parallel subjects: a Cybernetic heart and a display. For Stable Diffusion, such a prompt might result in something blurry or both elements appearing in one image, potentially leading to logical issues in the image.
But in my experiments with Tripo AI, I found that the model tends to focus on drawing one object. Therefore, if your prompt includes 2 objects, you might find that Image 1 is entirely of Object A, while Image 2 is completely generated as Object B.
This gives us an insight into the current stage of AI product development, suggesting a connection to the 3D workflow: focus on generating one item at a time.
Considerations Related to Material and Symmetry:
Prompt 1:Sci-fi bench, Durable, rugged, Flush installation, Anti-slip surface, Illuminated edges, Slick oil surface texture, variable brightness, high reflectivity, Seamless 3D integration, Harmonious light mapping, balanced illumination
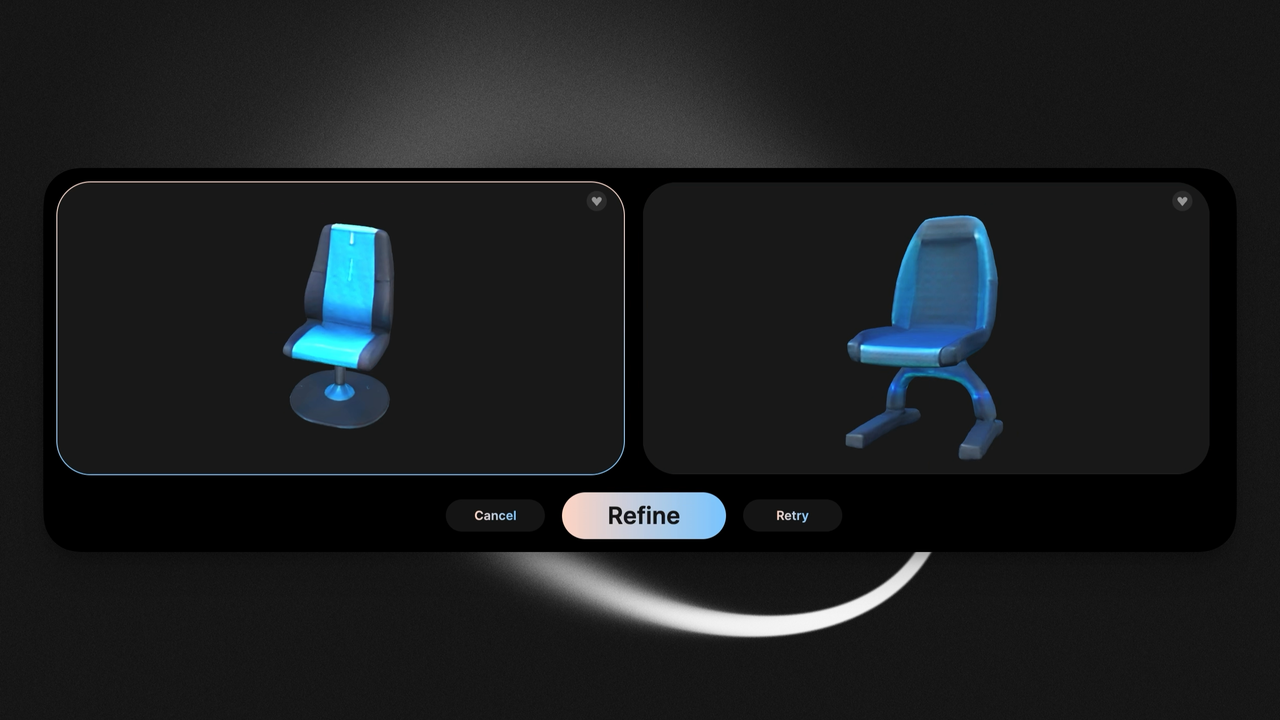
Prompt 2:Sci-fi bench, Miniaturized, interactive, Flush installation, Anti-slip surface, Illuminated edges, Boosted motors, Grip tape detailing, Customizable wheels, Abrasive sandpaper texture, low brightness, non-reflective, Procedural generation techniques, Seamless mesh, unified surfaces
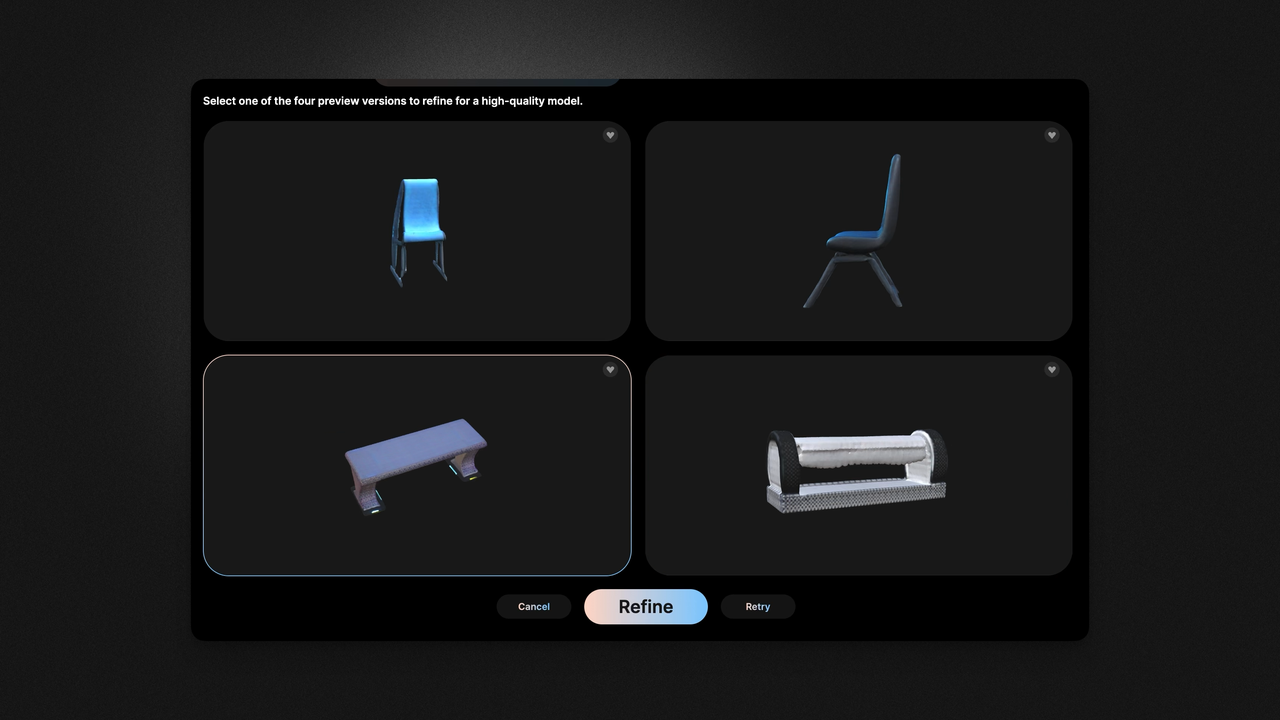
Particularly noteworthy is the comparison between the chair in the first image and the chairs in P2 and P3 of the second image, focusing on the material characteristics. The descriptions of reflective properties have a significant impact on the generated results, which has been consistently effective in multiple trials. Due to space limitations, I won’t display all examples here.
Moving on, if you’re familiar with 3D modeling, you’d know the importance of ‘symmetry’ in the model creation process. Therefore, if needed, don’t forget to remind the AI specifically to focus on ‘symmetry.’
Prompt:Security turret, Tactical, time-telling, 360-degree surveillance, Automated targeting, Infrared vision, Augmented vision, Prescription compatibility, Lightweight frame, Composite fiber paneling, moderate brightness, reduced reflectivity, Immersive world-building, Intentional reflective design, deliberate symmetry
Image to 3D Feature:
Of course, you can also use the Image to 3D feature, like with this image. When using Tripo AI, select ‘Image to 3D,’ upload your image, and simply click the Draft button. The system will first automatically extract the subject from the image, and then generate the model. Personally, I prefer pre-editing the image (extracting the foreground) in Photoshop to ensure precision in the initial draft, which can sometimes appear blurry when automatically segmented.
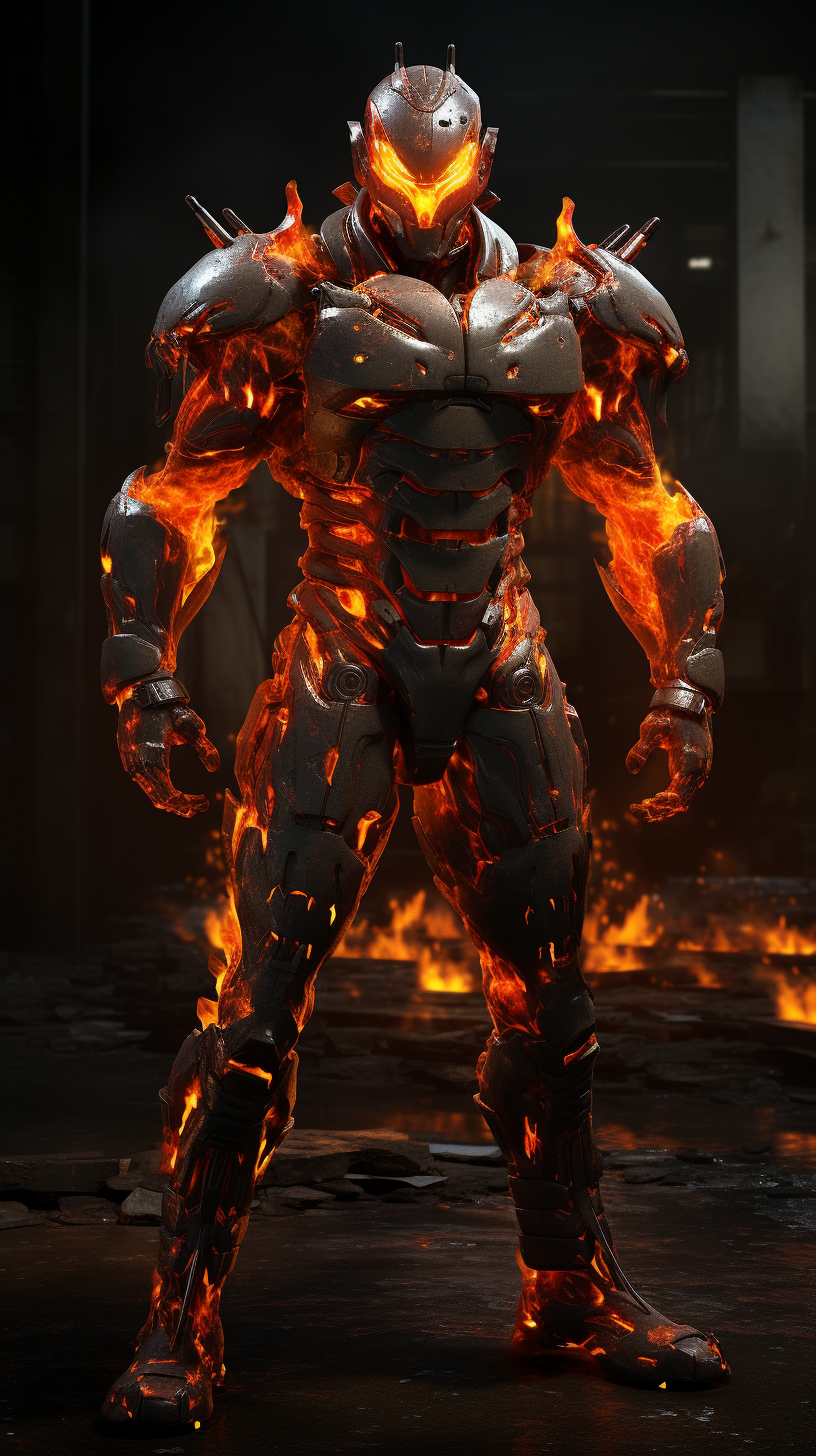
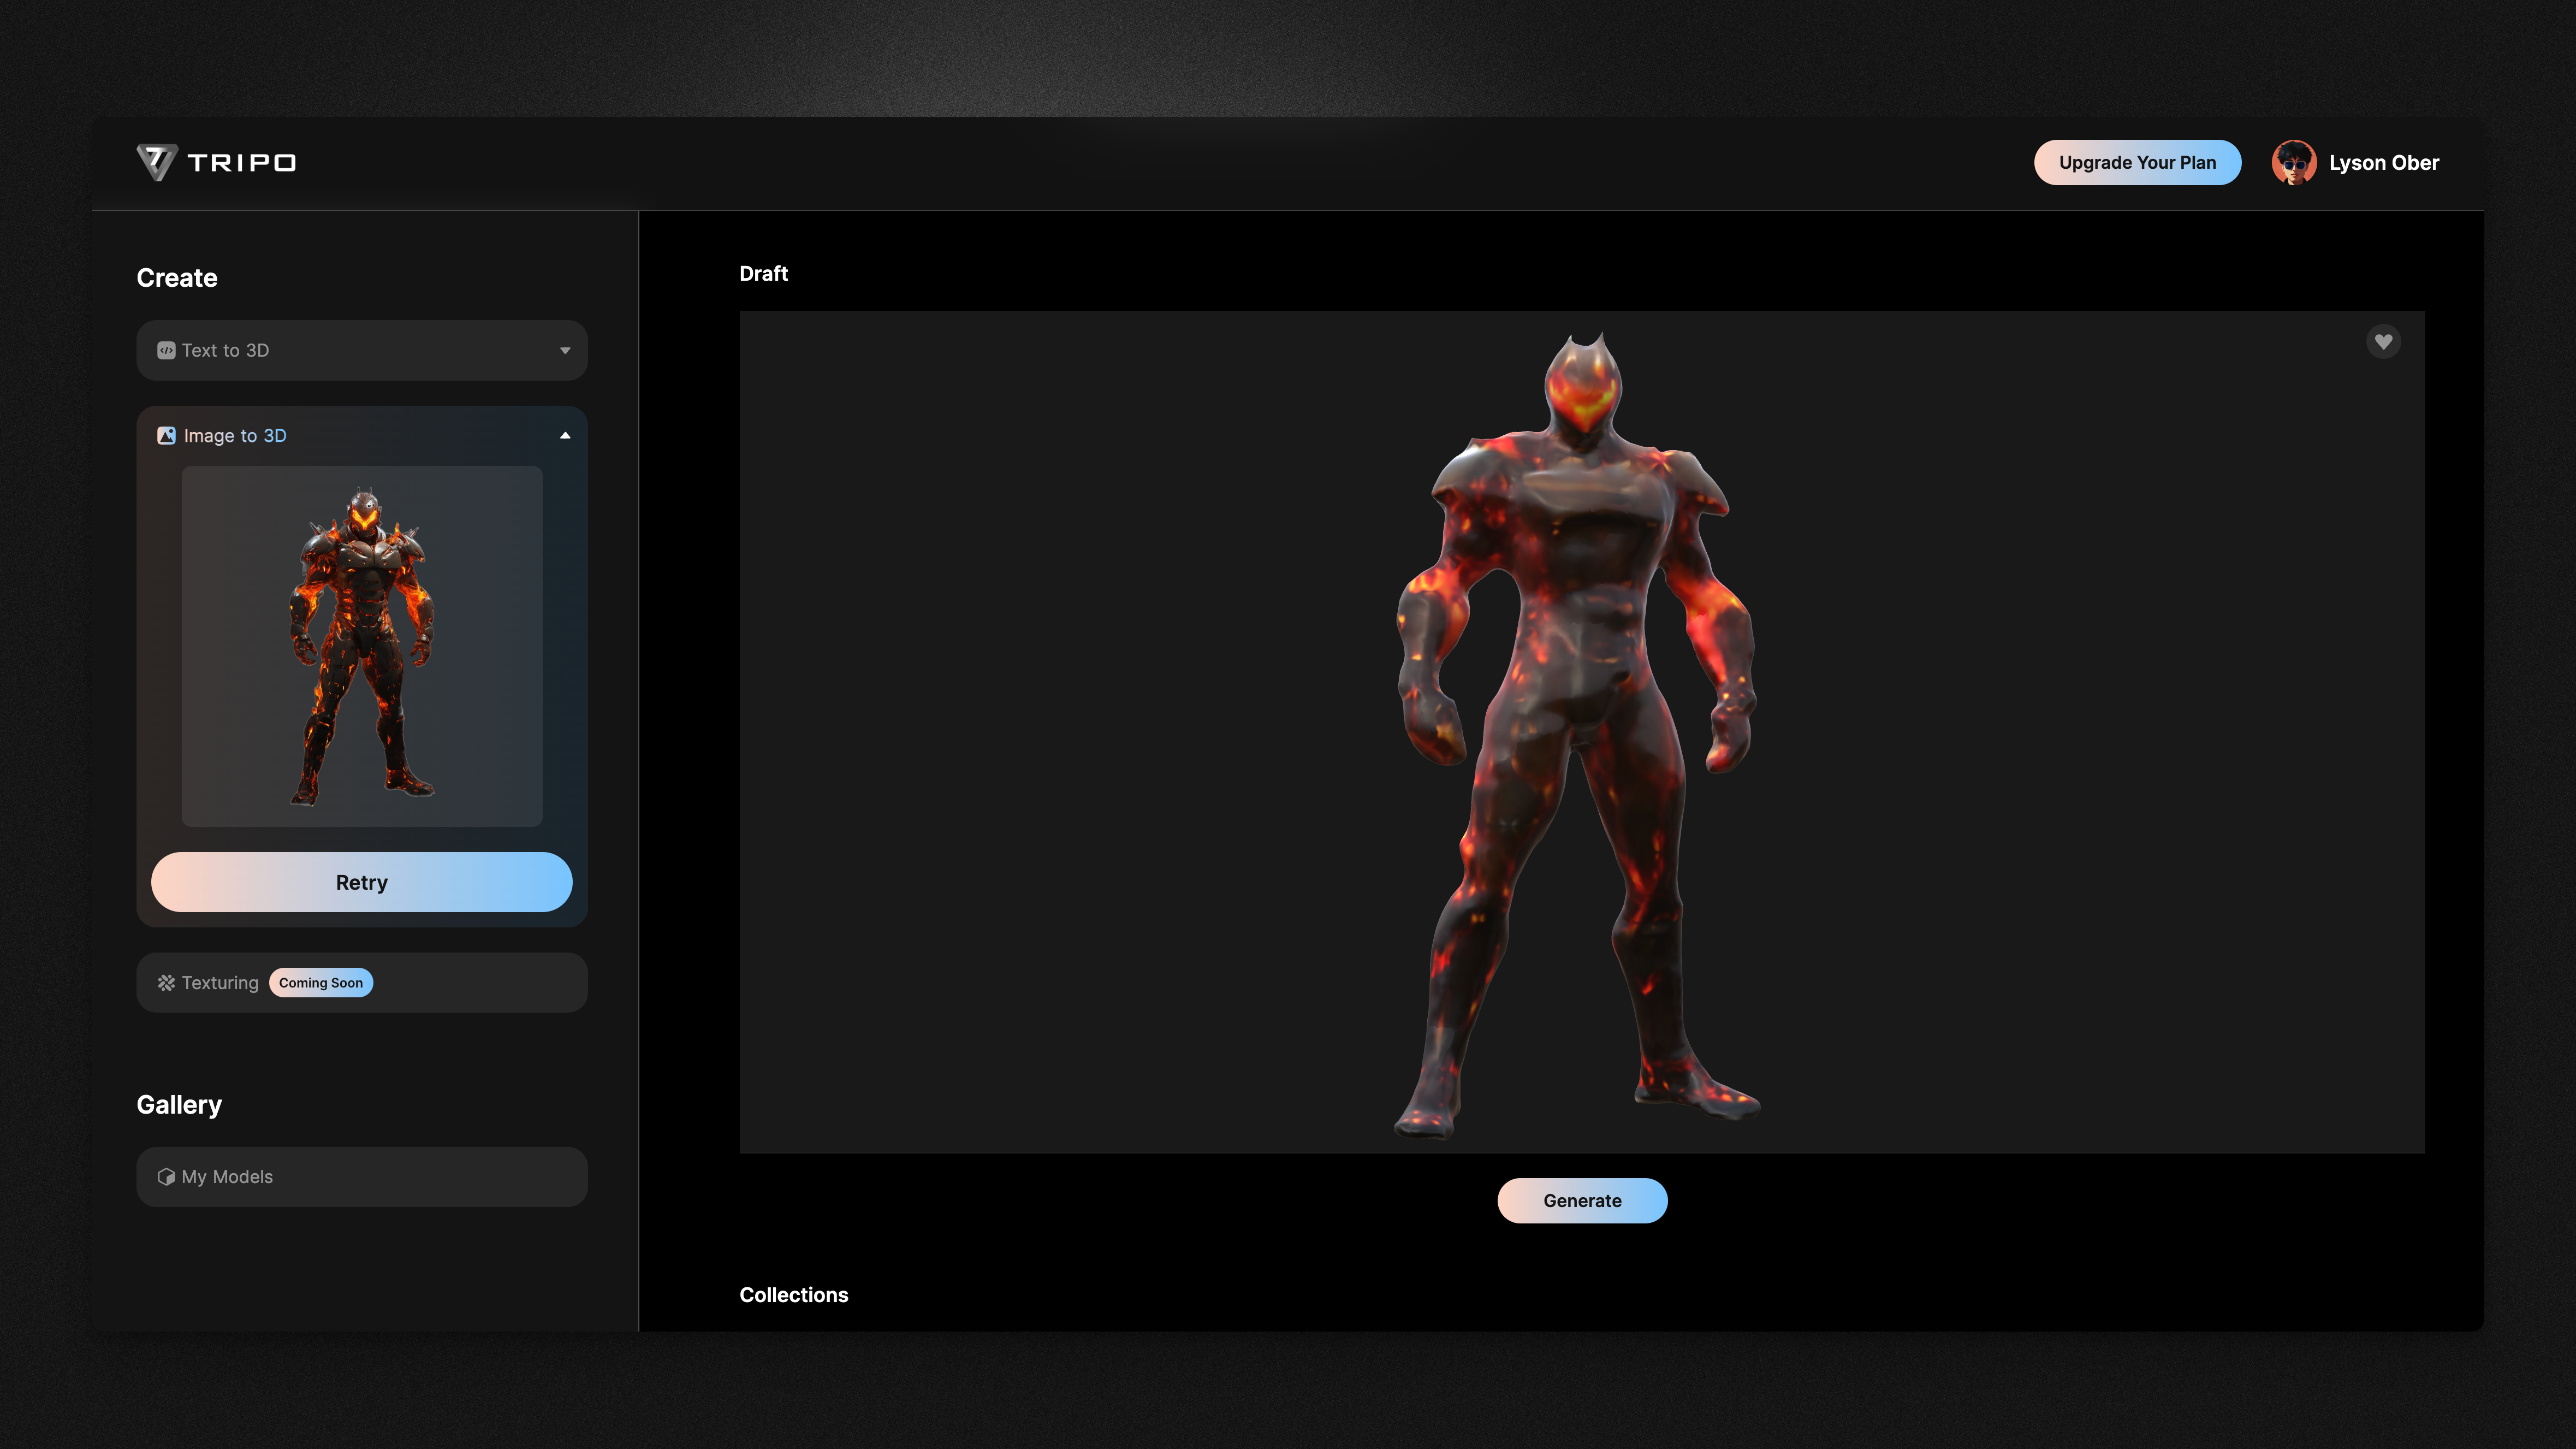
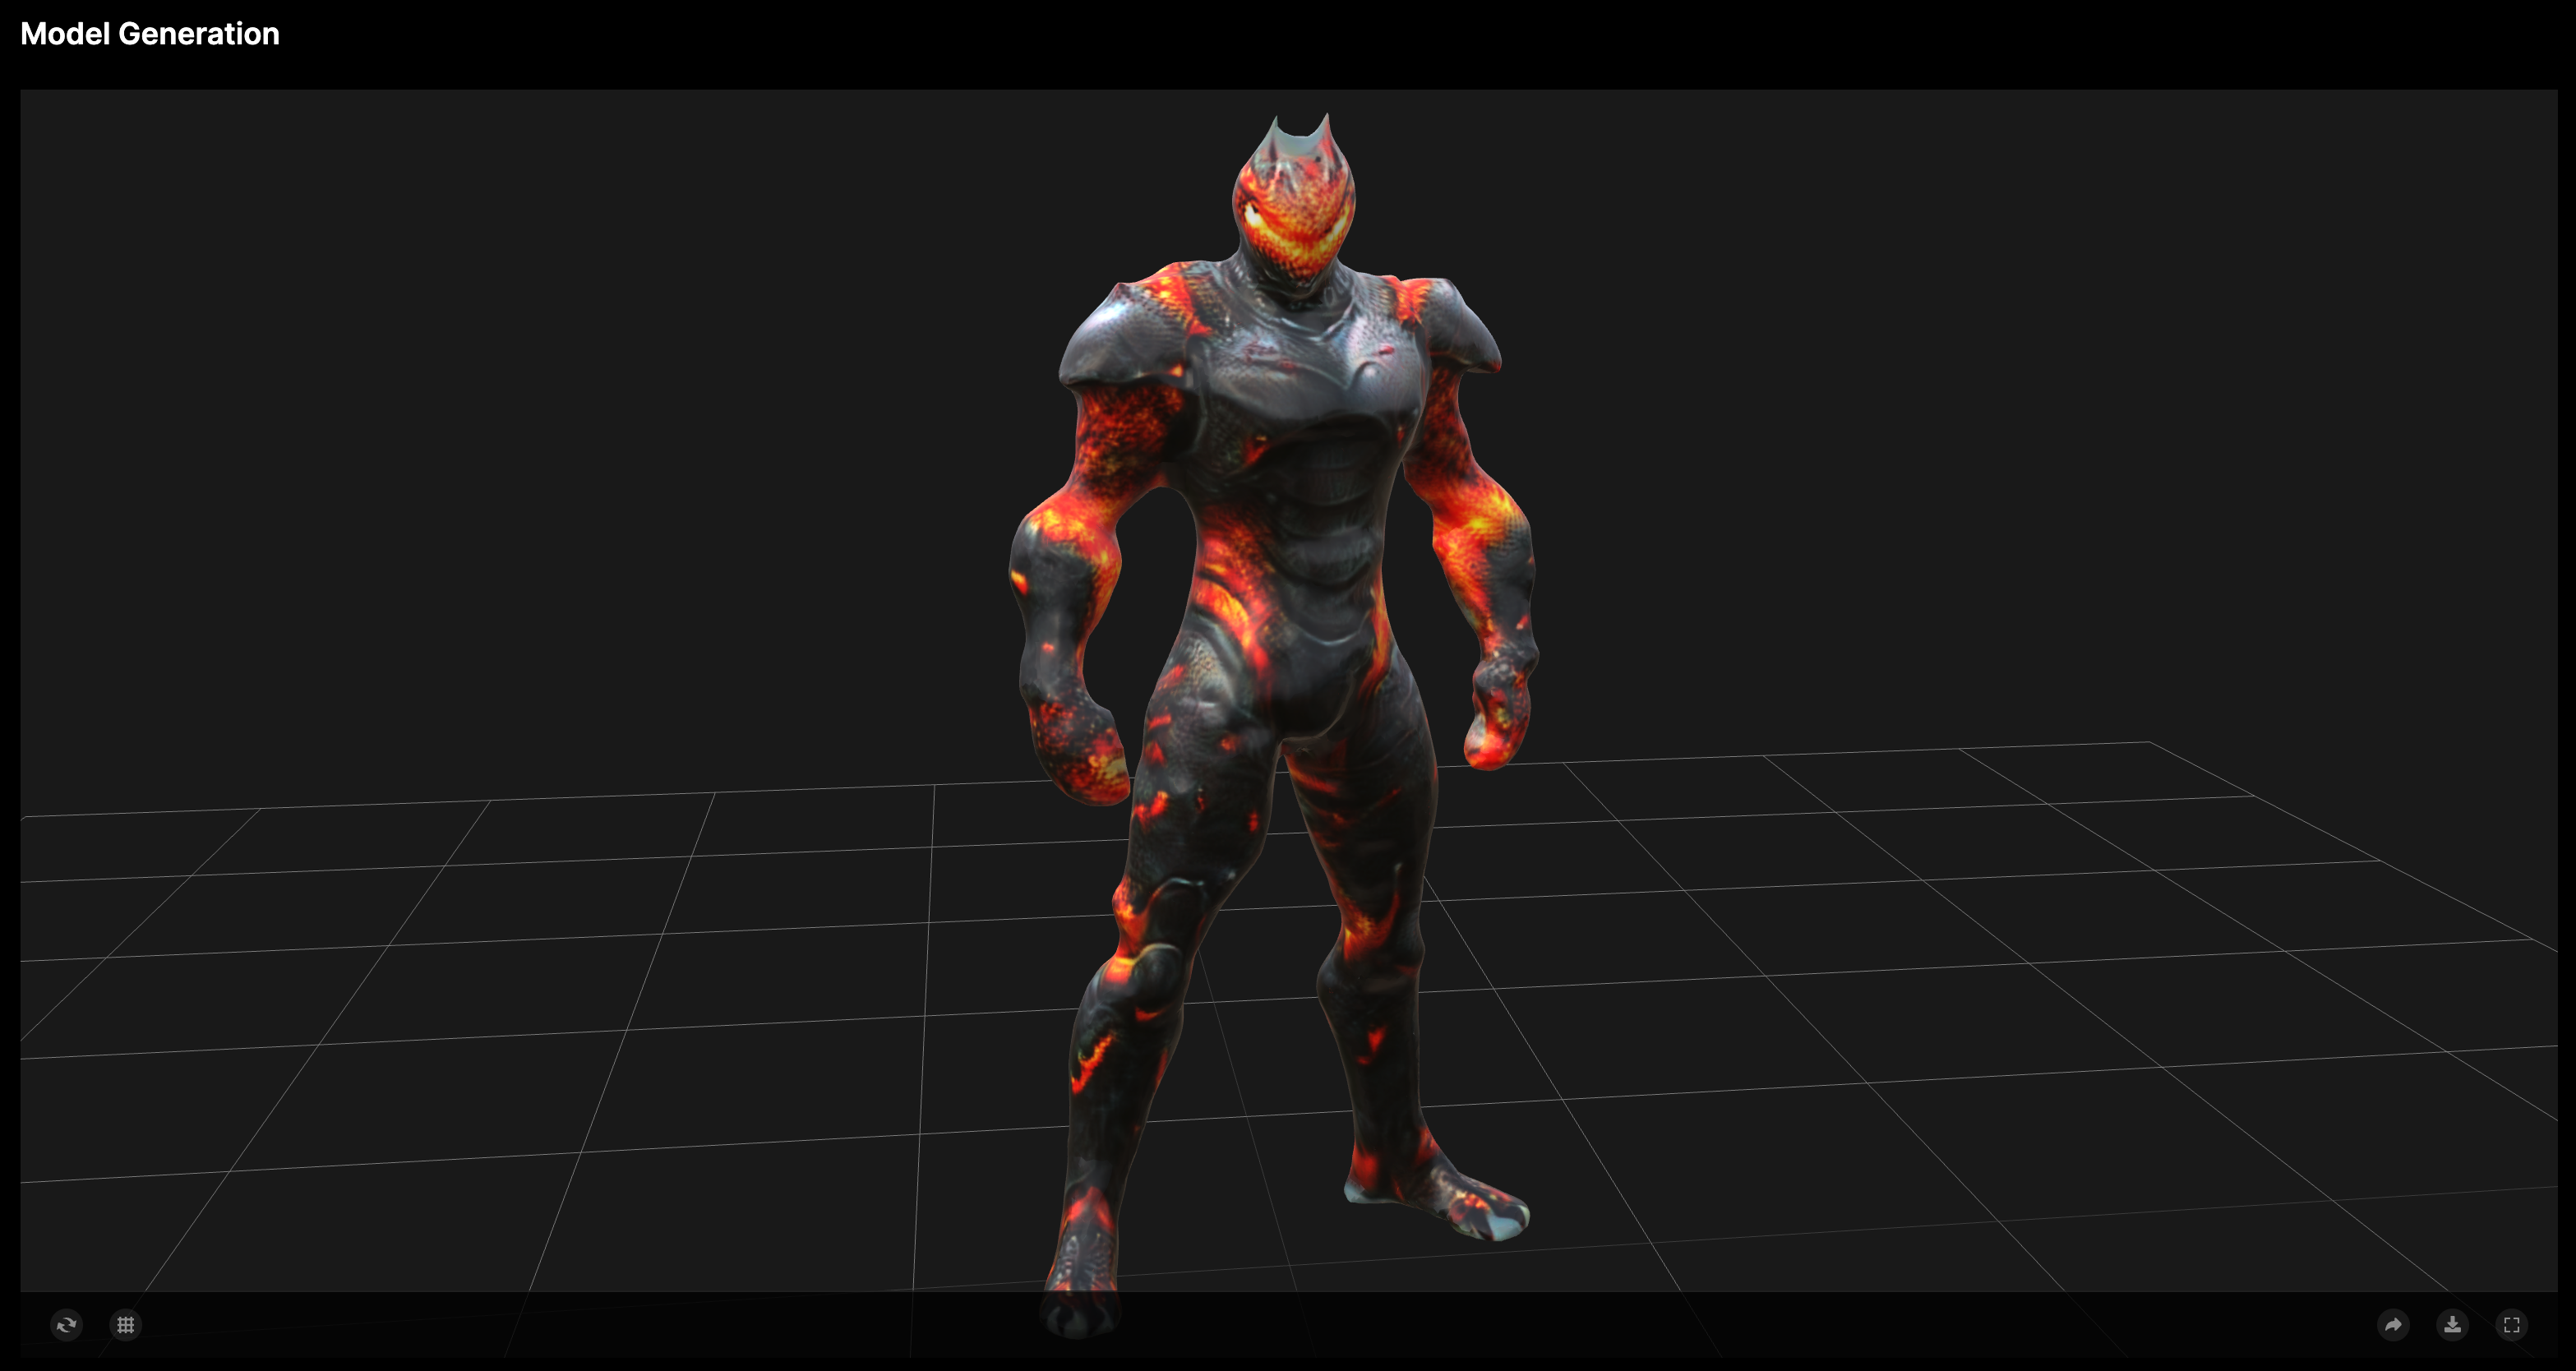
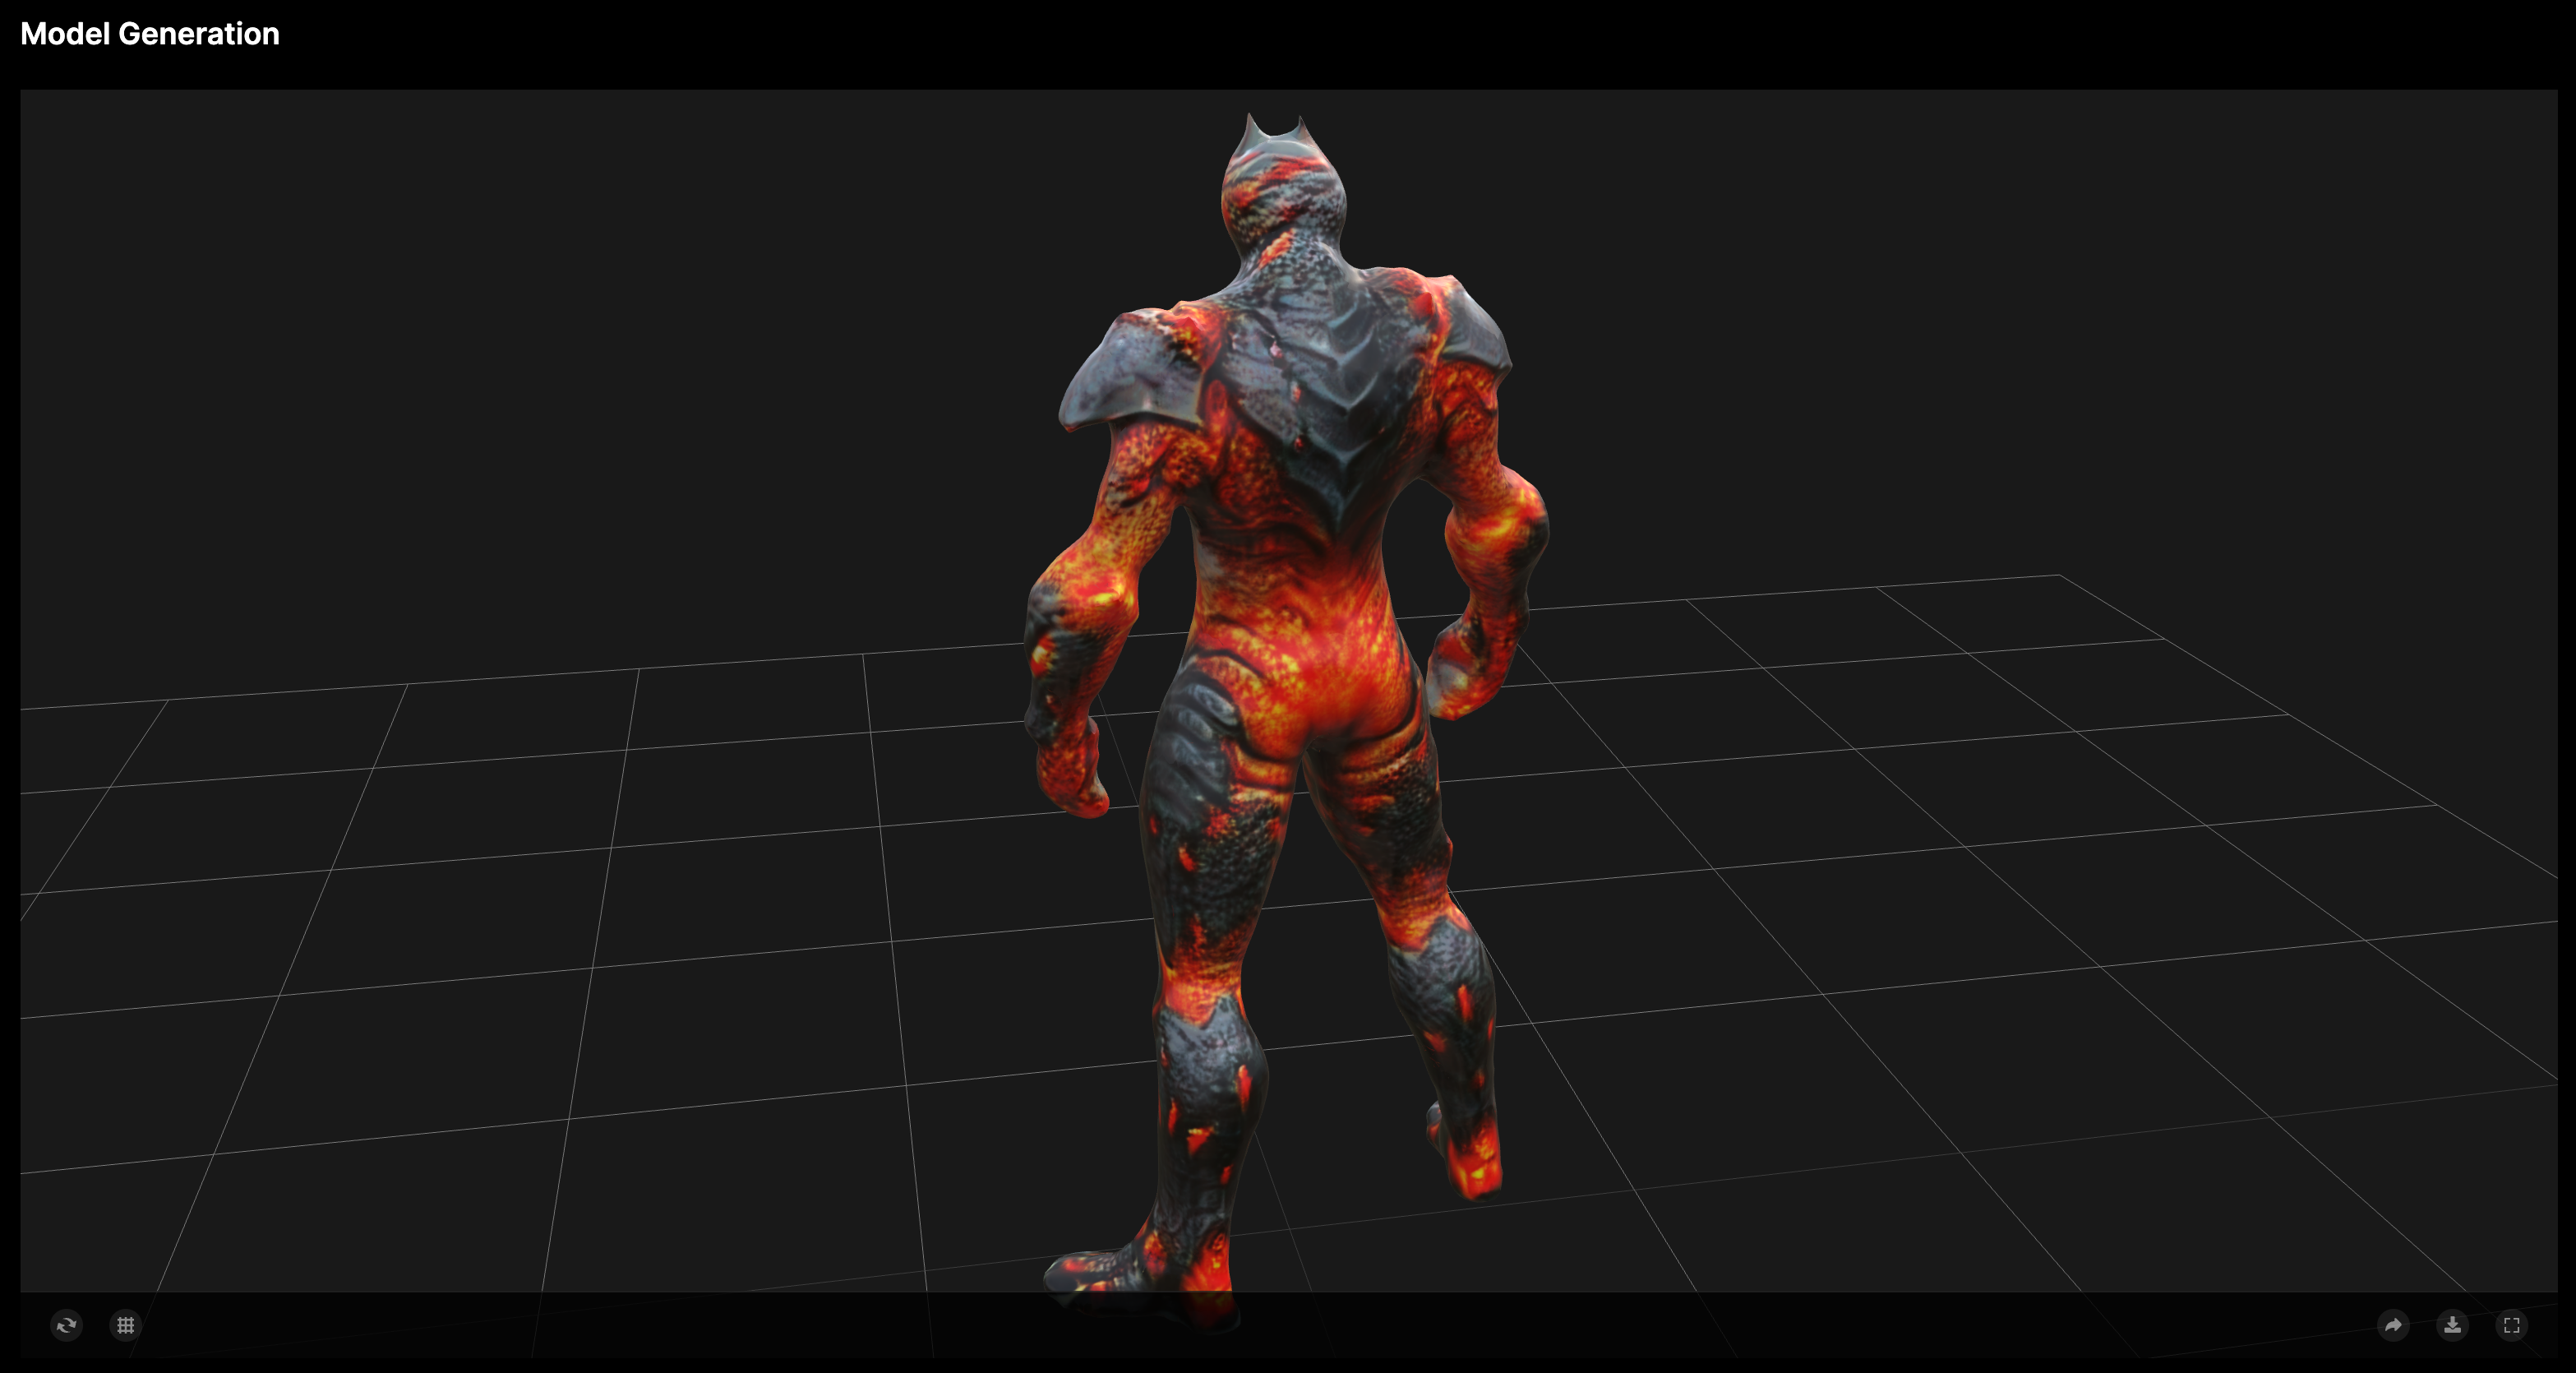
After that, we click on Refine to enhance the model’s precision. The final model obtained is as follows. By clicking download, you can import it into professional 3D software for further refinement:
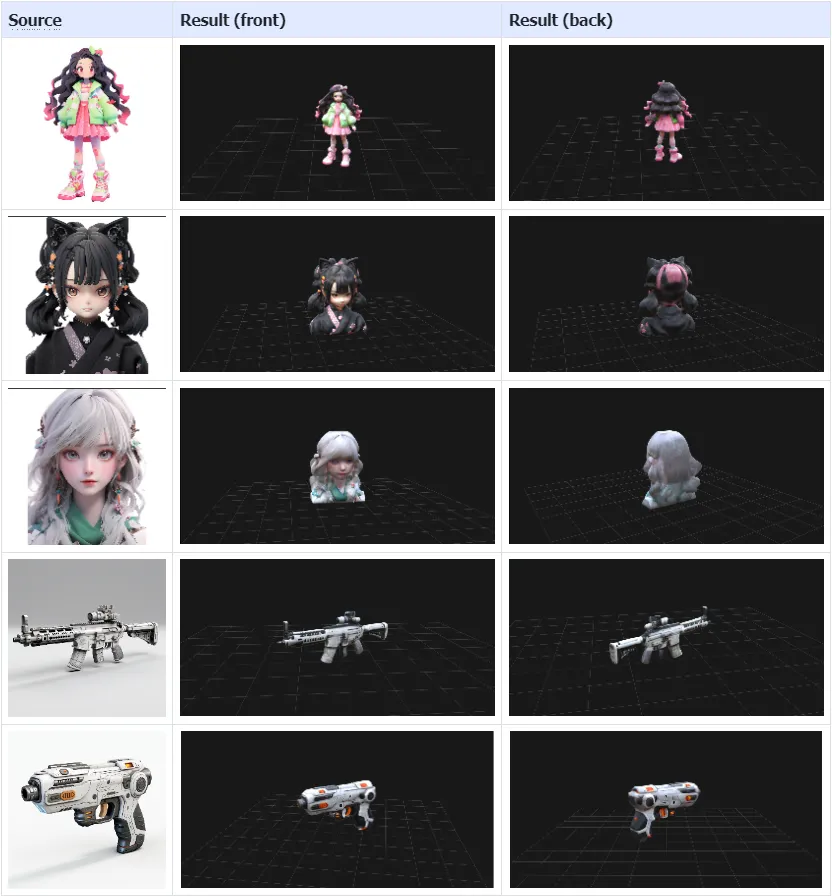
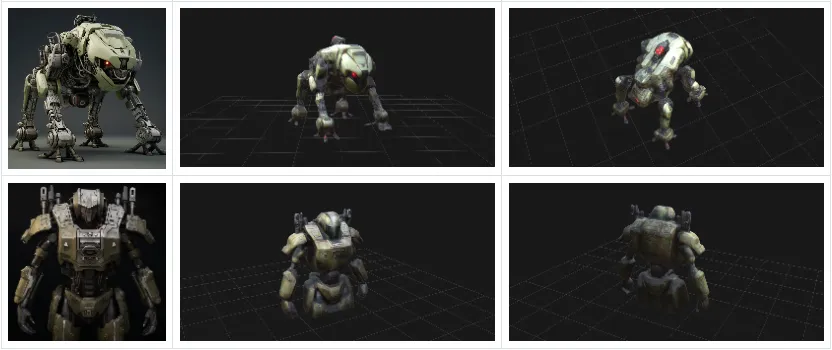
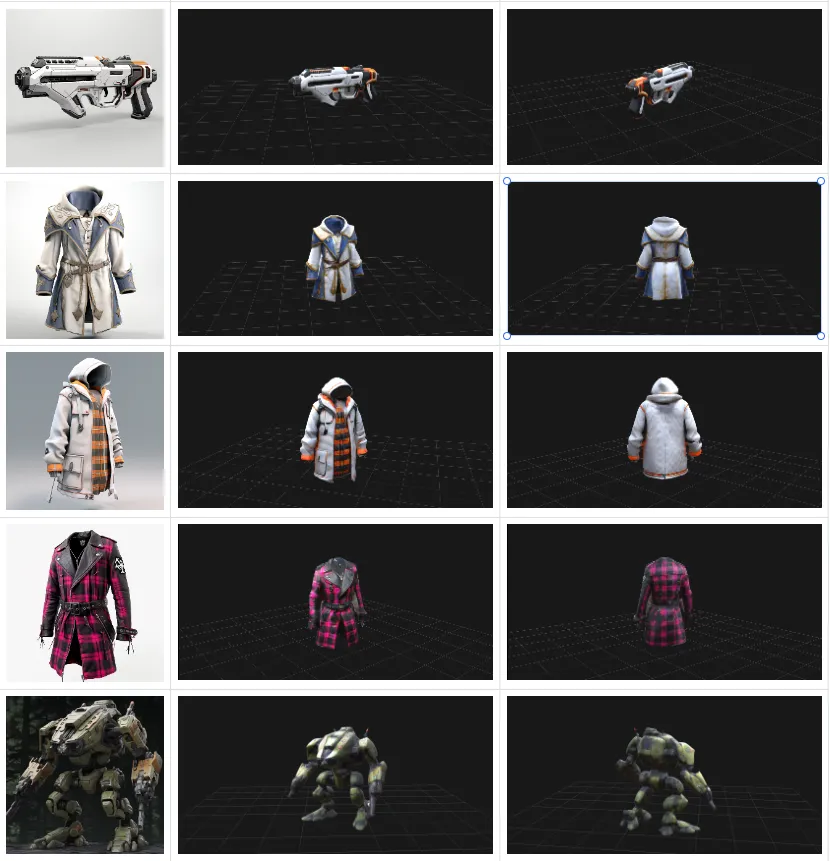
Here are other Image-to-3D examples :
Explore Tripo AI and join us on our media platforms:
- Official Website: https://www.tripo3d.ai
- Twitter: https://twitter.com/tripoai
- Medium: https://medium.com/@thegodtripo
- Discord: https://discord.gg/chrV6rjAfY
Original Article: https://medium.com/@thegodtripo/ultimate-tripo-ai-guide-i-prompt-tips-and-tricks-for-text-image-to-3d-cd49523b10ae
Written by Lyson(Twitter@lyson_ober) and edited by Oliver
Advancing 3D generation to new heights
moving at the speed of creativity, achieving the depths of imagination.

